.avif)
AC Installation in Pasadena, CA
This page outlines professional AC installation in Pasadena, CA, detailing sizing accuracy, ductwork evaluation, and commissioning to ensure reliable, efficient cooling. It covers common install types, typical Pasadena-specific issues, and the critical Manual J load calculation used to select the right system. The guide explains duct integrity checks, refrigerant and electrical requirements, and a step-by-step installation workflow from site prep to final testing. It also covers commissioning, warranty registration, maintenance tips, and strategies to maximize long-term system performance in the local climate.
AC Installation in Pasadena, CA
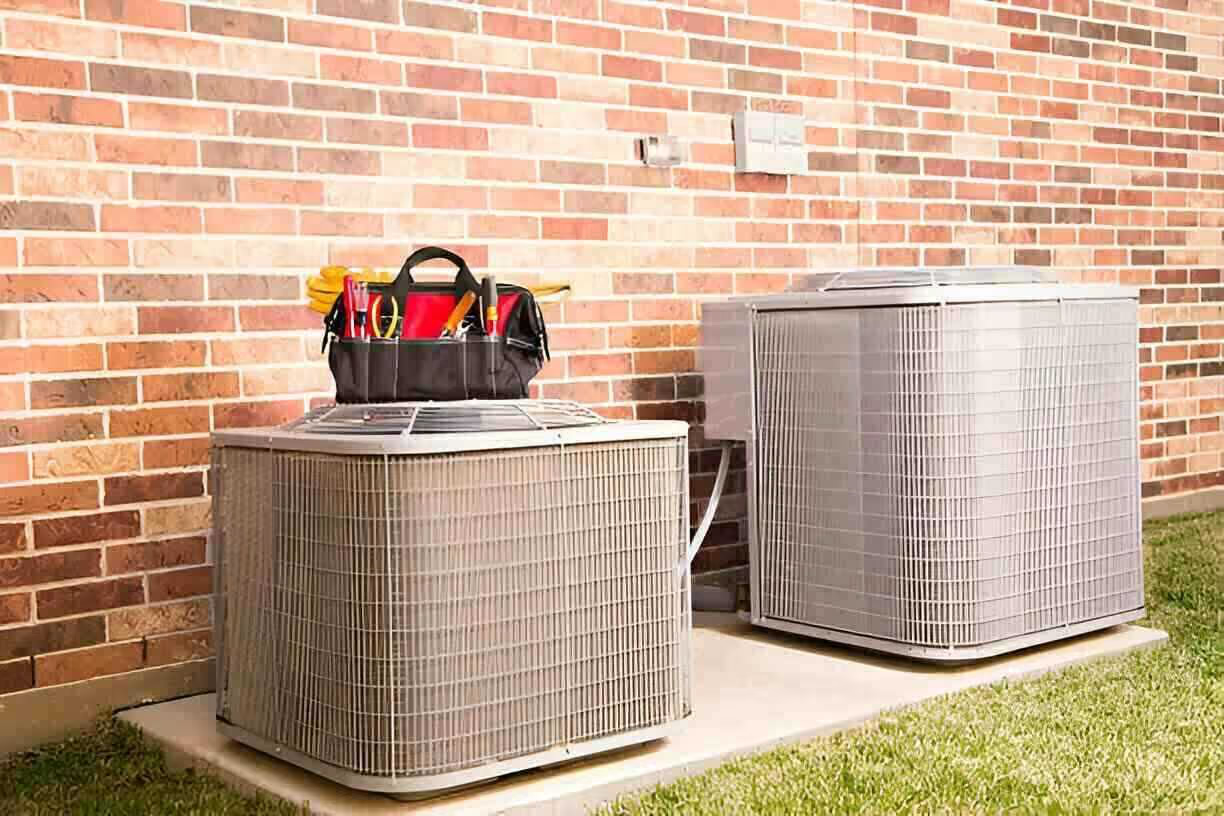
A properly designed and installed air conditioning system is one of the most effective ways to keep your Pasadena home comfortable through hot summers while minimizing energy costs and equipment problems. In Pasadena, CA, local summers, high solar gain on west- and south-facing rooms, dusty conditions, and a mix of older Craftsman and newer construction homes make accurate sizing, ductwork evaluation, and careful commissioning especially important. This page explains what to expect from a professional AC installation, common issues we see in Pasadena homes, and the technical steps that ensure reliable, efficient performance.
Common AC installation types and common issues in Pasadena
Most new installations fall into one of these categories:
- Central split systems (most common for single-family homes)
- Heat pumps (increasingly popular for cooling and efficient heating)
- Ductless mini-splits (ideal for additions, older homes without ducts, or room-level zoning)
- Packaged rooftop units (for some multi-zone or commercial scenarios)
Common AC installation issues in Pasadena homes:
- Incorrect unit sizing leading to short cycling or poor humidity control
- Undersized or leaky ductwork in older homes, reducing airflow and efficiency
- Improper refrigerant charge from poor line routing or installation
- Insufficient electrical capacity or improper disconnects for new units
- High attic temperatures and poor insulation increasing cooling load
- Dust and pollen leading to clogged filters and reduced performance
Pre-installation assessment and Manual J load calculations
A reliable installation starts with a detailed pre-installation assessment and a Manual J load calculation. Manual J is the industry standard method for determining your home’s actual heating and cooling load based on:
- Home orientation and window sizes
- Insulation levels and attic conditions
- Number of occupants and equipment heat gains
- Local climate factors like Pasadena’s high summer solar radiation and occasional Santa Ana wind-driven heat
Why this matters: Proper sizing prevents oversized units that short-cycle and undersized units that run continuously and cannot maintain comfort. Manual J helps pick a unit that balances comfort, humidity control, and energy efficiency for your specific Pasadena home.
Ductwork evaluation and modifications
Ductwork problems are one of the leading causes of poor cooling performance. A professional assessment includes:
- Inspecting ducts for leaks, gaps, and disconnected joints
- Measuring existing duct sizes to confirm airflow capacity
- Checking return pathways and balancing supply and return airflow
- Evaluating insulation for ducts in unconditioned spaces like attics
Common ductwork solutions:
- Sealing and insulating ducts to reduce losses
- Right-sizing or replacing undersized trunk runs and branch ducts
- Adding return air or improving vent placement for better balancing
Improved ductwork increases delivered cooling, reduces energy use, and helps a properly sized unit meet its design performance.
Refrigerant line and electrical work
Proper refrigerant line installation and electrical work are essential for safety and longevity:
- Lines must be routed with appropriate insulation, slope, and protection to prevent oil migration and condensation problems
- Line lengths and elevation changes are accounted for to ensure correct refrigerant charge
- Electrical service, breaker sizing, disconnects, and grounding are verified to meet current code and manufacturer requirements
- Permits and inspections: local code compliance and required inspections help ensure safe, reliable operation
Technicians perform a full electrical verification and ensure the outdoor unit has the correct voltage, breaker, and a service disconnect.
Step-by-step installation process
A professional installation typically follows these steps:
- Site preparation and removal of the existing equipment
- Final verification of Manual J and selection of the appropriate unit
- Placement of outdoor condensing unit on a level pad or curb
- Installation of the indoor coil/air handler or connection for a ductless evaporator
- Routing and insulating refrigerant lines and condensate drain
- Duct modifications or new duct tie-ins and sealing of penetrations
- Electrical connections, breakers, and safety devices installation
- Evacuation of the refrigerant lines with a vacuum pump and leak check
- Proper refrigerant charging according to manufacturer specifications and field conditions
- Thermostat setup and system programming
Each step includes documented checks to ensure installation quality and consistency.
Testing and commissioning procedures
Testing and commissioning confirm the system operates as designed:
- Measure temperature split across the evaporator to verify cooling capacity
- Check refrigerant pressures and verify proper charge
- Measure airflow (CFM) and static pressure to confirm duct performance
- Verify electrical load and motor amperage under run conditions
- Test safety controls, condensate management, and defrost sequences on heat pumps
- Calibrate thermostat and confirm proper zoning or setback schedules
Commissioning documentation is provided so homeowners understand baseline performance and service records.
Post-installation performance checks and warranty registration
After installation you should receive:
- A performance report showing measured temps, pressures, airflow, and electrical data
- Manufacturer registration forms filed for warranty activation
- Operating instructions and recommended maintenance intervals
Registering systems with the manufacturer protects warranty coverage and can be required for some extended warranty benefits. Proper documentation also helps with future service and resale value.
Tips for maximizing system efficiency in Pasadena
- Keep filters clean and replace them regularly to preserve airflow and indoor air quality
- Use a programmable or smart thermostat to avoid unnecessary runtime during unoccupied hours
- Seal and insulate attic access and ducts in unconditioned spaces to reduce cooling load
- Add shading or exterior window treatments on west- and south-facing windows to reduce solar gain
- Run ceiling fans to increase perceived comfort and allow higher thermostat settings
- Schedule annual tune-ups to verify refrigerant charge, clean coils, and check blower performance
- Consider zoning or ductless solutions for rooms with different usage patterns or loads
Timely maintenance and simple home improvements can lower operating costs and extend equipment life.
ConclusionAC installation in Pasadena, CA requires more than swapping units. Accurate Manual J sizing, professional ductwork evaluation, correct refrigerant and electrical work, and methodical commissioning deliver consistent comfort, lower energy use, and longer system life in Pasadena’s climate. Following best practices during installation and maintaining your system afterward ensures your new AC will meet your home’s needs for years to come.
hear what our satisfied clients have to say
.avif)
Service areas

