.avif)
AC Installation in Fontana, CA
Fontana homeowners seeking reliable AC installation will learn the full process from site assessment to post-installation support. The guide outlines accurate load calculations, equipment selection, ductwork considerations, and permitting requirements, then walks through a step-by-step installation sequence, testing, and commissioning. It also covers expected timelines, warranties, and post-install services plus maintenance tips tailored to Fontana’s hot, smoky climate. The result is a properly sized, efficient system with lasting comfort and energy savings. Every step emphasizes safety, code compliance, and long-term performance.
AC Installation in Fontana, CA
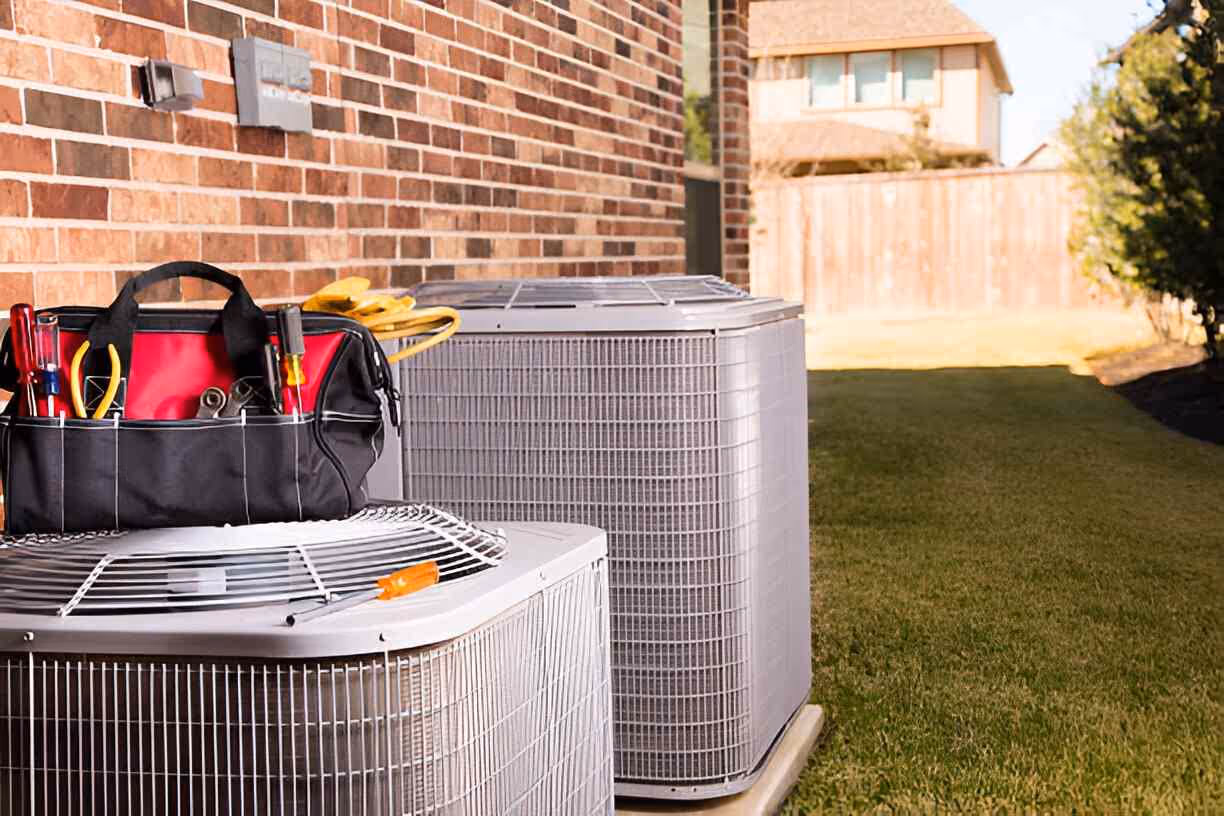
Replacing or installing an air conditioning system is one of the most important investments for comfort and energy efficiency in Fontana, CA. With hot Inland Empire summers, frequent heat waves, and seasonal wildfire smoke, a properly sized and installed AC keeps your home cool, controls humidity, and improves indoor air quality. This page explains the full AC installation process for Fontana homes — from site assessment and load calculation to permits, testing, and post-installation support — so you know what to expect and why each step matters.
Why a proper AC installation matters in Fontana, CA
- Fontana summers regularly push cooling systems to their limits; poor installation increases breakdown risk and operating costs.
- Local air quality issues make filtration and ventilation choices more important than in milder regions.
- California energy rules affect equipment selection and installation details, so compliance saves headaches during inspections.
Common AC installation types and issues in Fontana
- Full system replacement (outdoor condenser and indoor air handler/evaporator coil)
- Condensing unit replacement only (keeping existing indoor equipment)
- Ductless mini-split installation for rooms without ductwork
- Duct modification or replacement when existing ducts are undersized, leaky, or poorly insulated
- Retrofit refrigerant line changes for systems switching refrigerant typesCommon problems that lead homeowners to install a new system include frequent breakdowns, rising energy bills, uneven cooling, insufficient dehumidification, and incompatible refrigerant or obsolete equipment.
Step 1 - Site assessment and load calculation
A professional installation begins with a detailed site assessment of your Fontana home:
- Inspect the floor plan, attic, duct layout, insulation levels, window orientation, and shading.
- Note occupancy, thermostat locations, and local shading that affects cooling loads.
- Perform a Manual J load calculation to determine the precise cooling capacity required. Proper sizing prevents short cycling, humidity problems, and wasted energy.
- Evaluate existing ducts with a visual inspection and simple tests for leaks, return capacity, and balance.
Step 2 - Equipment selection
Equipment is selected based on load calculation, budget, and local conditions:
- Choose the correct capacity (tons) and efficiency rating (SEER) for optimal operation in Fontana’s climate.
- Consider equipment features that help in this region: multi-stage compressors, variable-speed blowers, and enhanced filtration for smoky or dusty periods.
- Match evaporator coils and refrigerant types with the outdoor unit to maintain warranty and performance.
- Factor in blower and duct compatibility to ensure adequate airflow and distribution.
Step 3 - Ductwork and refrigerant line considerations
- Inspect ducts for leaks and inadequate insulation. In hot climates, insulated and well-sealed ducts reduce energy loss.
- Repair or reconfigure ductwork where needed to achieve balanced airflow and correct static pressure.
- Plan refrigerant line routing with minimal bends and proper insulation. Long line sets may require special considerations for charge and efficiency.
- Verify condensate drainage provisions and slope to avoid drainage issues in attics or tight spaces.
Step 4 - Permits and compliance
- Most AC installations require permits from the local building authority and must comply with California energy standards (Title 24). Permit requirements capture safety, refrigerant handling, and energy efficiency documentation.
- The installer typically submits permit applications, equipment specs, and required energy compliance forms for review.
- Plan for permit turnaround time when scheduling — simple replacements may clear quickly, while larger system upgrades can take longer.
Step 5 - Step-by-step installation procedure
A standard installation sequence for a single-family home:
- Prepare site and protect floors and landscaping.
- Remove old equipment safely and recover any refrigerant per regulations.
- Install new outdoor condensing unit on a level pad or bracket and mount the indoor air handler or coil.
- Run and insulate refrigerant lines, install condensate drains, and make electrical connections following code.
- Modify or reconnect ductwork, install new return and supply grilles if needed, and seal joints.
- Evacuate the refrigerant circuit, verify vacuum, and charge per manufacturer specifications.
- Program and mount the thermostat and integrate any zoning or smart controls.
Step 6 - System testing and commissioning
Proper commissioning confirms performance and longevity:
- Leak test and verify refrigerant charge and pressures.
- Measure airflow, static pressure, and temperature split to confirm system balance.
- Check electrical connections, safety controls, and proper startup/shutdown cycles.
- Verify thermostat calibration, setpoints, and any zoning or smart system integrations.
- Run the system through a complete cooling cycle and address any noise, vibration, or airflow issues.
Expected timelines
- Site assessment and load calculation: typically 1 to 3 hours.
- Permit processing: varies by project and local workload; often a few days but can be longer.
- Typical residential installation: 1 to 3 days for a straightforward replacement; larger systems, ductwork upgrades, or structural changes may take several days to a week.
- Final inspection and commissioning: usually completed on the day of installation or within a few days, depending on permit inspection scheduling.
Warranties and post-installation support
- New equipment comes with manufacturer warranties on major components. Review warranty terms for compressors, coils, and electronic parts.
- Professional installers provide workmanship guarantees covering installation-related issues for a defined period. Keep documentation for both equipment and labor warranties.
- Post-install support often includes startup demonstrations, thermostat programming, and recommended maintenance plans to protect your investment.
Maintenance and tips specific to Fontana homeowners
- Replace or upgrade filters to MERV-rated options during wildfire season and routine dusty periods.
- Schedule annual maintenance in spring to ensure peak performance before peak cooling demand.
- Seal attic and duct leaks and add insulation where possible to reduce load and improve efficiency in hot weather.
- Consider higher-efficiency equipment or variable-speed systems if you run cooling for long stretches; the energy savings are meaningful in Fontana’s climate.
- Check local utility programs and rebate opportunities for high-efficiency equipment and qualifying installations.
Bottom line benefits
A correctly executed AC installation in Fontana, CA delivers consistent comfort, better humidity control, lower operating costs, and longer equipment life. When sizing, ductwork, refrigerant handling, code compliance, and commissioning are handled professionally and tailored to local climate challenges, your home will stay cooler, healthier, and more energy efficient through the hottest months and during periods of poor outdoor air quality.
hear what our satisfied clients have to say
.avif)
Service areas

